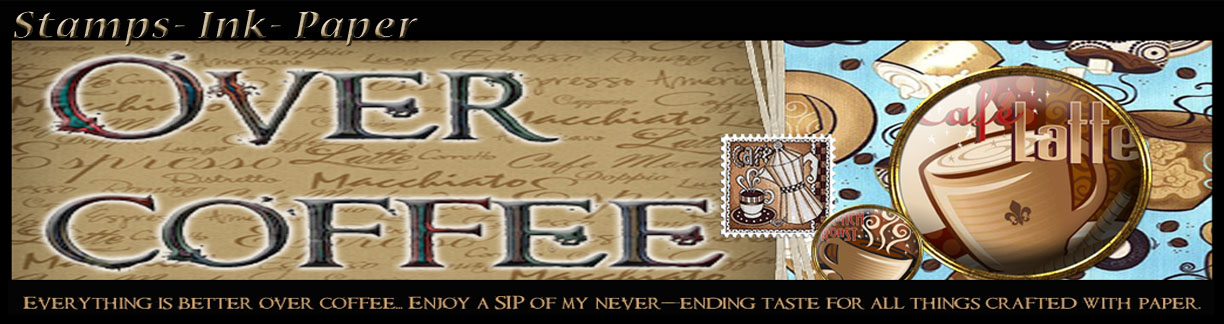


New Title - What Do You Think??
 Good Afternoon! My reason for not posting in so long is because instead of posting I have been working on making my very own Blog Title design. So what do you think? I rather like the colors and really enjoyed figuring out how to do this on my Adobe Photoshop Elements. It's a long painstaking process because whenever I run my Adobe Photoshop it takes forever. I think I need a bigger graphics card or more memory or something put on my puter. Oh well, I finished it and of course I will probably make others as I am always changing my mind.
 How did I do this?
Well, I downloaded some of the free digital kits from Two Peas In A Bucket. I then took elements from the digital kits and stacked them on eachother, cut them out ect with the Adobe Photoshop. The fonts were downloaded off of another free font website called dafont.com. There are links to both of these sites under my links list.
SLIT PUNCH FLOWER FRAME TUTORIAL
- Begin with a piece of 4 1/4 x 5 1/2 piece of cardstock. I used Wild Wasabi here.
- Using your coluzzle & circle template (use the template that has the littlest circle in the center) cut a 3" circle (3rd one from the outside) in the center or where you would like your flower to be on the card. The sweet pea one above is positioned more toward the top.
- Now using the slit punch, begin on either the right or left side where the space between the circle and the edge of your cardstock is smallest. Punch a slit about 1/8" in from the edge of the circle.
- Continue punching 1/8" in from edge of circle & leave about 1/8" between each punch as you go around. As for the 1/8" I just eyeball it - I am usually pretty well on.
- Now you should be able to lift up each "petal". Lay a piece of scrap paper under a petal and using a sponge add some color around the edge of the petal. Repeat for the rest of the petals.
- Using your white gel pen add a white dot to the center of each petal. Another option for added WOW is to punch a hole or add eyelets to the center of the petals.
- Now if you have a little area left on the left & right sides go ahead and trim your piece so it is 5 1/4 x 4.
- Cut a piece of card stock for your base (5 1/2 x 8 1/2) and fold to make your base. I used Whisper White.
- Lay your flower punched piece over your card base to determine approximately where you would like your main image to go remove it then stamp. I used the Spotlight background stamp and the sweet pea image from the Event Full hostess stamp set.
- Another way to put an image behind your punched flower piece is to stamp it on a piece of cardstock then adhere it to the back of the flower piece then adhere all that to your card base.


Here is another sample I made using the Stinkin Cute stamp set. I added a little dazzling diamonds to the skunks tail - so cute!
THERE IS ANOTHER VARIATION to this technique which I have a couple of images to share too.
This is done pretty much the same way as the flower frame only instead of leaving a 1/8" space between each punch (see step #4) punch them side by side so that once you go all the way around you will be able to remove the punched flower - just like you would do if you were doing a scalloped edge using the slit punch. Once you remove the "flower" from the piece you can finish like I outlined above. It makes it look like a very large scallop frame. Here are a couple of my examples:
 Here I used the Little Flowers stamp set to stamp around the flower. I filled in the center using a sponge and added purely pomegranate and groovy guava. I stamped the butterfly onto whisper white cardstock using purely pomegranate and cut it out (took me a while). Added a punched scallop from our scallop circle punch then an groovy guava circle on that then a clear button over another stamped piece of cardstock. Another thingy I did on this which I haven't done before is on the brads used to hold the ribbon on I put a mini glue dot and then dipped it into the dazzling diamonds. It works pretty good and adds a little extra sparkle. I added some faux stitching using the white gel pen all away around the punched frame.

For the one here on the right I used the Paisley background stamp for the frame. I stamped the horse from the Wanted stamp set - inked once and stamped 3x. The background behind the horses was done using a torn piece of copy paper and adding different layers using a sponge - lay the copy paper down add color onto your cardstock - move the copy paper and repeat using different colors.
- Simply email or send me a pic of your creation -
- add a little comment to my blog here
- and be entered in to win a little package of stampin sweets from me - included in the package will be a stamp, some ribbon, paper and other little goodies.
- Deadline for the images is September 10th
- I will draw my winner (using a random number draw) on the 11th!
Well, that is all for now - have fun with your scalloped frames and flowers!


 Posts
Posts


